Build and Deploy Docker Containers with Azure Pipelines
In this article I’m going to go though step by step how to build container images and deploy them through Azure pipelines. The steps we are going to be following are:
- Setup an Azure DevOps project
- Take a sample repo from Github that contains both application code and infrastructure code and put it into DevOps
- Build a CI/CD Pipeline using this repo and the Dockerfile in the repo
- Deploy the pipeline to an Azure App Service
- Test the application
Setup an Azure DevOps Project
Before we start I will show you want the sample application looks like in Visual Studio
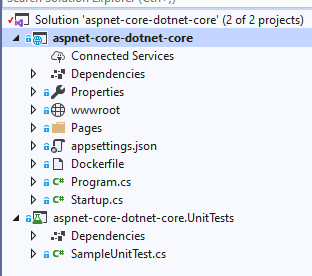
The solution consists of the actual application and also a test project that we can use in our pipeline to test the application before deploying.

As well as the application the repo also consists of 2 Azure ARM templates. One is used to build a web app in Azure app service and the other will deploy a container registry resource. The good thing about this implementation is that the pipeline is going to build the infrastructure using the ARM templates if it doesn’t already exist. That will be done as part of the build pipeline.
Go over to AzureDevops and create a new project by clicking the  button
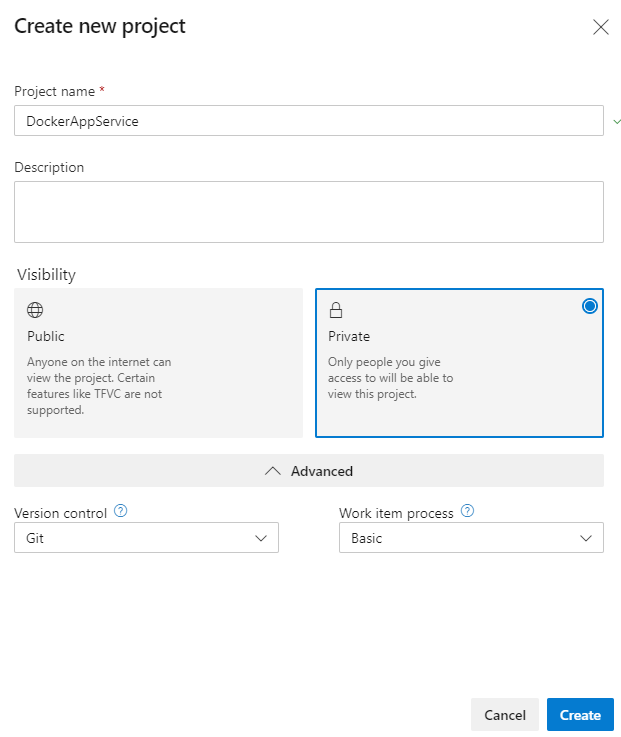
Call it DockerAppService and click create
Create the repo in DevOps
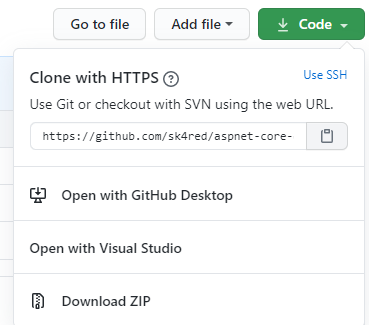
Next, we are going to import a repo from my github organization Go over to my Github repository
There is a repo called aspnet-core-docker-demo

Get the clone url for this repo
Go back to Azure DevOps and Chose Repos and then files

We are going to choose Import a Repository
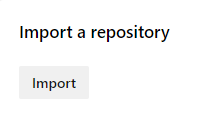
Enter the clone url from above
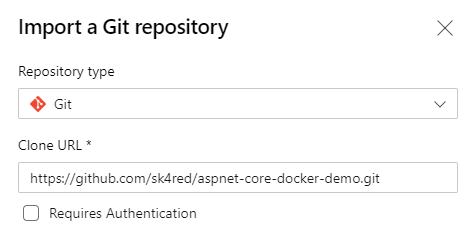
Select import
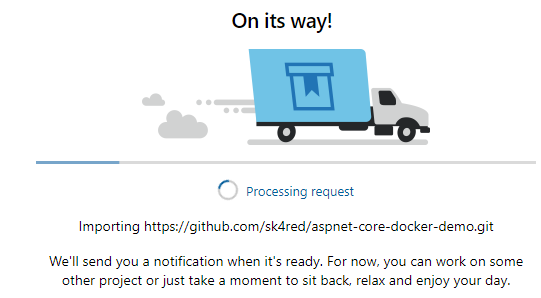
Once the import is successful go to the project settings in the bottom left of the screen

Scroll down to service connections and select it
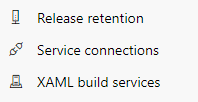
Choose Create service connection 
Pick Azure Resource Manager and then select Next

Then choose Service Principal and the Next

We are going to scope this at the entire subscription level
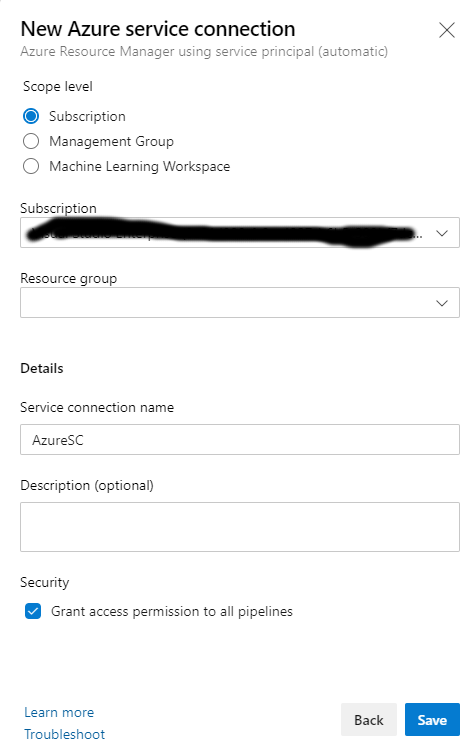
Pick a subscription from the drop down and call our connection AzureSC and select Save.
Create the CI/CD Pipeline in Azure
Once that is configured go back to the project and select repos and files again. In the top right corner select 
Scroll down and select Existing Azure Pipelines YAML file

Under Path select the .yaml file
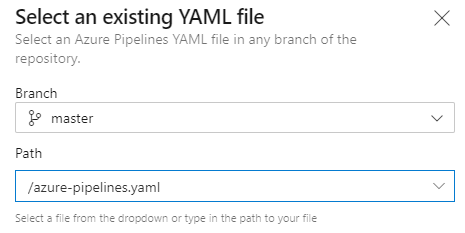
Click continue
You will then be shown the contents of the .yaml file. Before we look at the contents of our yaml file it is a good idea to look at the official YAML scheme reference. For a full look at the article you can go here
A pipeline is one or more stages that describe a CI/CD process. Stages are the major divisions in a pipeline. The stages “Build this app,” “Run these tests,” and “Deploy to preproduction” are good examples.
A stage is one or more jobs, which are units of work assignable to the same machine. You can arrange both stages and jobs into dependency graphs. Examples include “Run this stage before that one” and “This job depends on the output of that job.”
A job is a linear series of steps. Steps can be tasks, scripts, or references to external templates.
This hierarchy is reflected in the structure of a YAML file like:
Pipeline
    Stage A
      Job 1
        Step 1.1
        Step 1.2
...
      Job 2
        Step 2.1
        Step 2.2
...
    Stage B
...
With this is mind we can take a closer look at the contents of our YAML file that is going to build and deploy our application.
The first block is simply telling the pipeline to run whenever there is a change to the master branch
trigger:
  branches:
    include:
    - master
The next section contains our static variables which we set so we don’t have to keep typing them or changing them. You will need to change the following variables apart from the buildConfiguration and location. You must make them unique.
variables:
  buildConfiguration: 'Release'
  location: 'UK South'
  acrHostName: 'sk4red-webappdocker-acr.azurecr.io'
  acrName: 'sk4red-webappdocker-acr'
  rgName: 'sk4red-webappdocker-rg'
  imageName: 'sk4red-webappdocker'
  webAppName: 'sk4red-webappdocker'
You may need to experiment with these values as some of them are DNS names and must be unique across all of Azure. If the Pipeline build fails try again using different names above. For a list of locations, from within Azure cloud shell you can issue the following command
Get-AzureRmLocation |Format-Table
Next we have our first stage which I have called BuildAndTest. If you follow the comments you will see that the following is happening:-
- Build and test on a Linux Ubuntu Server
- Container registry will be created or updated in Azure using the ARM template called containerRegistry-template.json
- Restore dependencies, build, test and then publish the application.
- Build the container image
- Push the container image
- Copy the ARM templates to our staging directory to be used by our release stage
- Publish the app as an artifact to be used by our release stage
The Next stage is called Staging which is actually going to deploy the application. Again, follow the comments and you will see the following is going to happen:-
- Release will use a Linux Ubuntu Server
- Download the published application artifact
- Create or update Azure App Service using the ARM template container-webapp-template.json file
- Deploy App Service using the variable names we specified
Deploy the Pipeline to Azure
When you are happy with the changes you have made to the variables section, click 
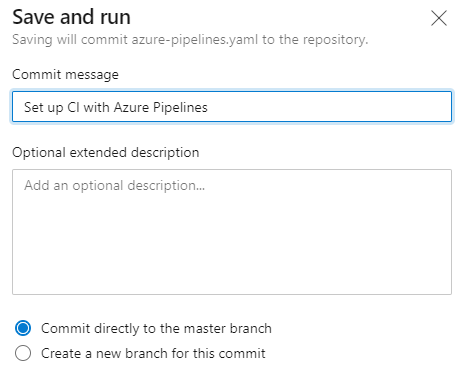
click  again
again
You will be able to monitor the stages as they happen.
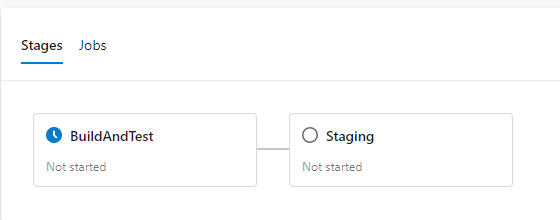
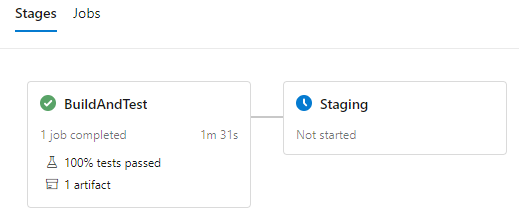
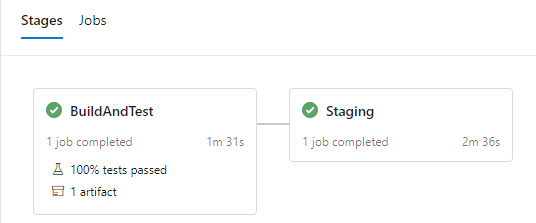
Once the final step is complete, go into the Azure portal and you will see all your newly created resources.

If you select you App Service you will see the URL that has been assigned to your new App

Go to a browser and try and run this URL.
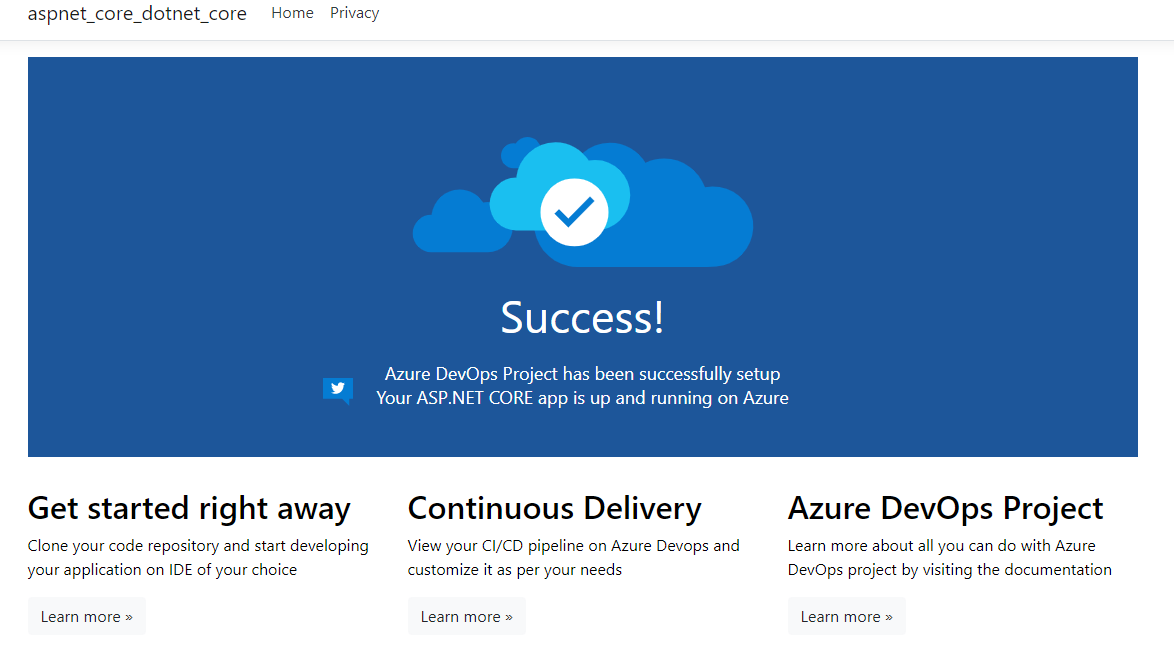
Here is our app running inside a container inside of app service
Update the Application
Go to Repos – Files and find the application folder
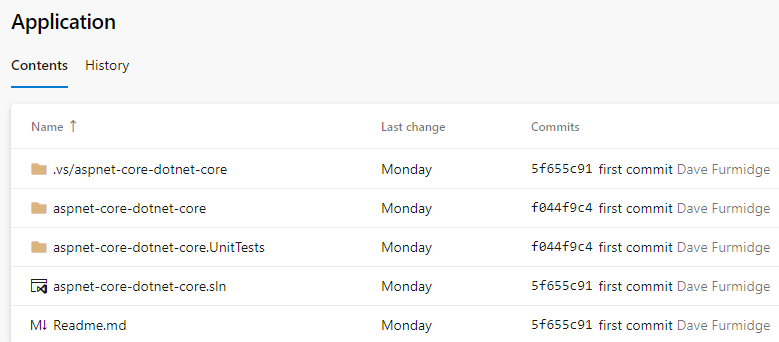
Navigate through the following hierarchy and find the Index.cshtml file

Change the line below to something else
<div class="success-text">Success!</div>
For example
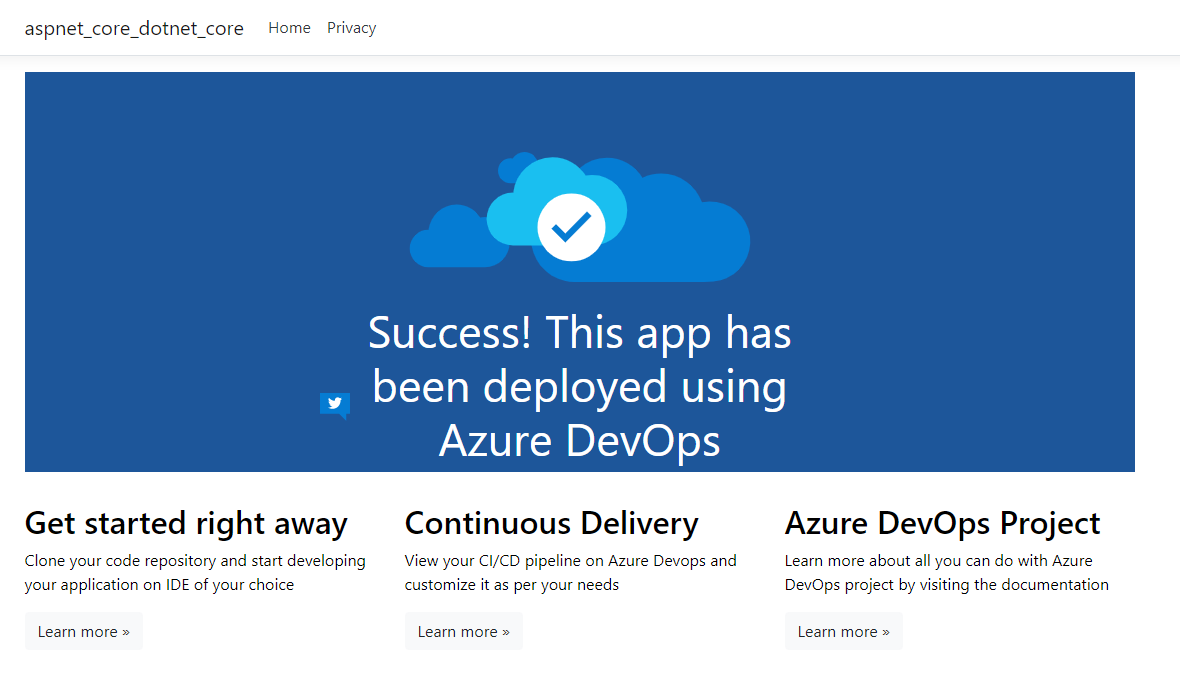
<div class="success-text">Success! This app has been deployed using Azure DevOps</div>
Press the commit button in the top right
Add a comment if you want and then press commit again
Go back to our pipeline and we should see a new build has started.
Wait for it to finish and then go to Azure Portal
Get the web app url again and see what the page looks like now. We should see our new message
In Azure navigate to the Container registry

Select Repositories
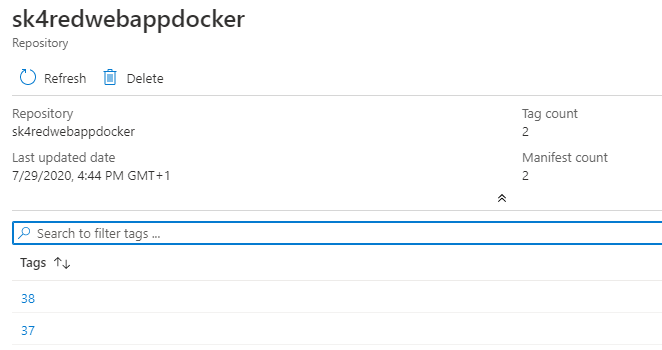
We can see 2 build Id’s the higher number being the one we just updated.
Don’t forget to delete any resources you no longer require as you will end up paying for them.
Conclusion
That is the end of this tutorial, I hope you found it useful. Keep checking back for future articles on all things cloud
If you have any questions you can reach out to me on LinkedIn