Deploy Infrastructure with Terraform and Azure Pipelines
In this article I’m going to go through step by step how to deploy resources to Azure using terraform and Azure pipelines.
Assumptions
I’m going to assume that you know what terraform is and you are also familiar with Azure and Azure DevOps. If not, then I suggest that you take some time to study the basics and then come back and follow along with this guide.
Initial Requirements
Before we can start to deploy any resources using terraform and Azure DevOps there are a few things we need to do. These are:-
- Create a storage container to store the terraform state file
- Create a new Azure DevOps Project
- Create an Azure Service Principal
- Write some terraform sample code
Create a storage container to store the terraform state file
Terraform maintains a state file that maps the current status of your infrastructure with your configuration files. This state file can be stored on a local machine or in a remote storage location in Azure(or the equivalent location in AWS or GCP). By default, it is stored on the local machine and is named “terraform.tfstate”. This is ok for development and training etc but best practice is to store the state file in a remote location that is encrypted at rest. In this guide I’m going to store the state file remotely in Azure. I’m going to create a storage account and a container for this purpose. I’m going to use Azure Cloud Shell to create the resource group, storage account and container. The details are:
- Resource Group - dowd-devops-rg
- Storage Account - dowdtf
- Container - tfstatedowd
I will execute the following commands logged into Cloud Shell in the required subscription. I will use the bash shell but you could also use powershell
#!/bin/bash

RESOURCE_GROUP_NAME=dowd-devops-rg
STORAGE_ACCOUNT_NAME=dowdtf
CONTAINER_NAME=tfstatedowd

# Create resource group
az group create --name $RESOURCE_GROUP_NAME --location uksouth

# Create storage account
az storage account create --resource-group $RESOURCE_GROUP_NAME --name $STORAGE_ACCOUNT_NAME --sku Standard_LRS --encryption-services blob

# Create blob container
az storage container create --name $CONTAINER_NAME --account-name $STORAGE_ACCOUNT_NAME
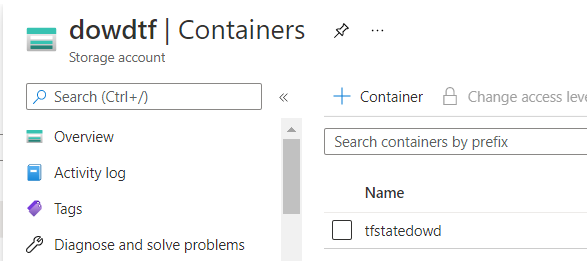
If those commands execute successfully we should be able to go into Azure and see the Container we just created.
Create a new Azure DevOps Project
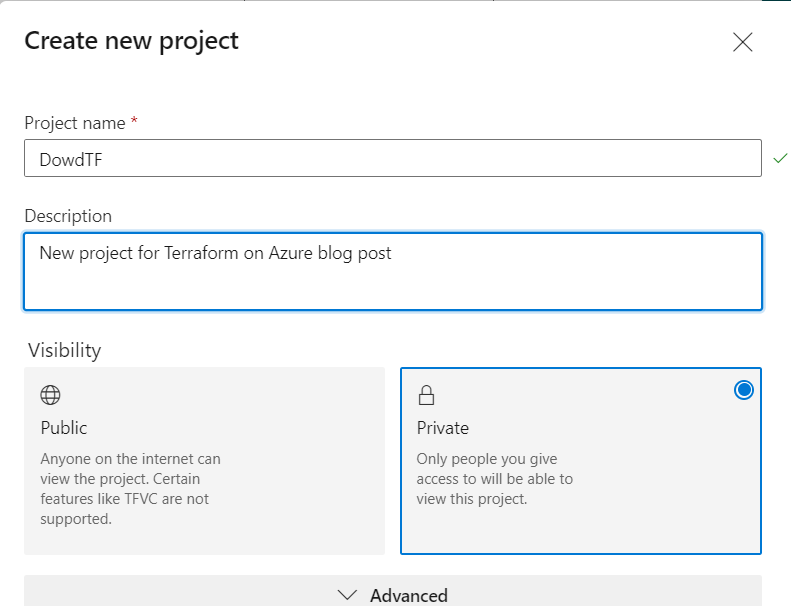
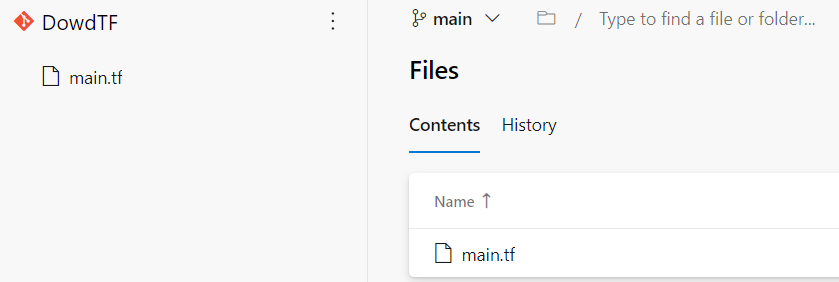
Before we can use Azure DevOps to deploy anything we need a project to use. We could use an existing project but I’m going to create a new project for this guide. The procedure is well documented by Microsoft here, but I’m going to show the basics in this guide anyway. The name of the DevOps project in my example will be called DowdTF as below:-
Create an Azure Service Principal
Now we have a project setup we can continue by setting up a Service Principal. Service principals enable your deployment pipelines to authenticate securely with Azure. A service principal is a type of account. It can sign in to Azure AD, but there’s no human to sign in and interact with the authentication process. Service principals don’t have MFA or similar protections, because those require a person to do something to prove their identity. We need this so we can deploy the terraform code. We could use the Azure CLI to create this but I’m going to do it manually so you can understand the initial setup. From within your newly created project select Project Settings from the bottom left of the console.
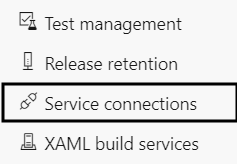
Now select Service Connections from the menu
Select Create Service Connection -> Azure Resource Manager -> Service Principal (Automatic).
For scope level I selected my subscription and then entered the details as below, for Resource Group I selected dowd-devops-rg which I created earlier.
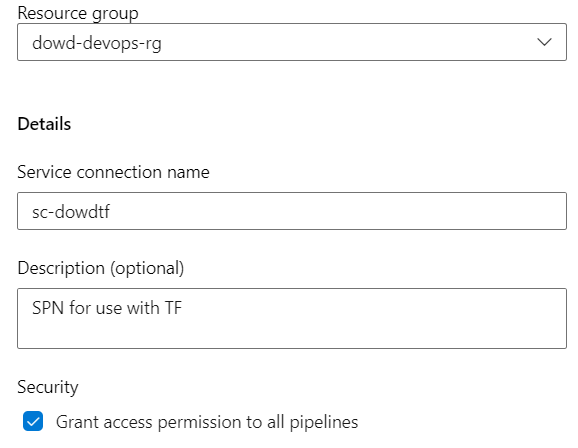
Press save and then you should see some output similar to this:-
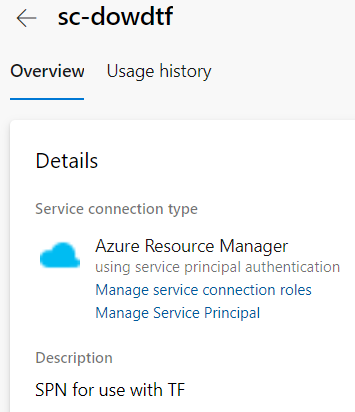
You can select Manage Service Principal to review further
When I create the SPN this way, I like to give it a friendly name so I can reference it easier within my Subscription. This can be done by selecting “Manage Service Principal”. When the Azure page open select the Display name from the overview Page

Change the name to a more friendly name and press save.

If you want to give this SPN further IAM control to your subscription you can follow this guide here. In this setup I also give the SPN “contributor” access to my subscription.

Some terraform sample code
We now have everything we need setup to enable us to start to configure our pipeline. I have created some sample terraform code for us to use here. In my example we are going to deploy a storage account called dowdsat in a Resource Group called dowd-tf.
terraform {
  required_providers {
    azurerm = {
      source  = "hashicorp/azurerm"
      version = "=2.46.0"
    }
  }
    backend "azurerm" {
        resource_group_name  = "dowd-devops-rg"
        storage_account_name = "dowdtf"
        container_name       = "tfstatedowd"
        key                  = "terraform.tfstate"
    }

}

provider "azurerm" {
  features {}
}

data "azurerm_client_config" "current" {}

resource "azurerm_resource_group" "dowd-rg" {
  name     = "dowd-tf"
  location = "uksouth"
}

resource "azurerm_storage_account" "dowdsa" {
  name                     = "dowdsatf"
  resource_group_name      = azurerm_resource_group.dowd-rg.name
  location                 = azurerm_resource_group.dowd-rg.location
  account_tier             = "Standard"
  account_replication_type = "LRS"
}
Deploy this into a repo
Using AzureDevOps to Deploy our Terraform
Now that the initial setup is complete we need to configure Azure DevOps to deploy our Terraform code into our Azure subscription. Sign in to your organization (https://dev.azure.com/{yourorganization}). Select the shopping bag, and then select Browse Marketplace.

From the search bar, search for ms-devlabs.custom-terraform-tasks
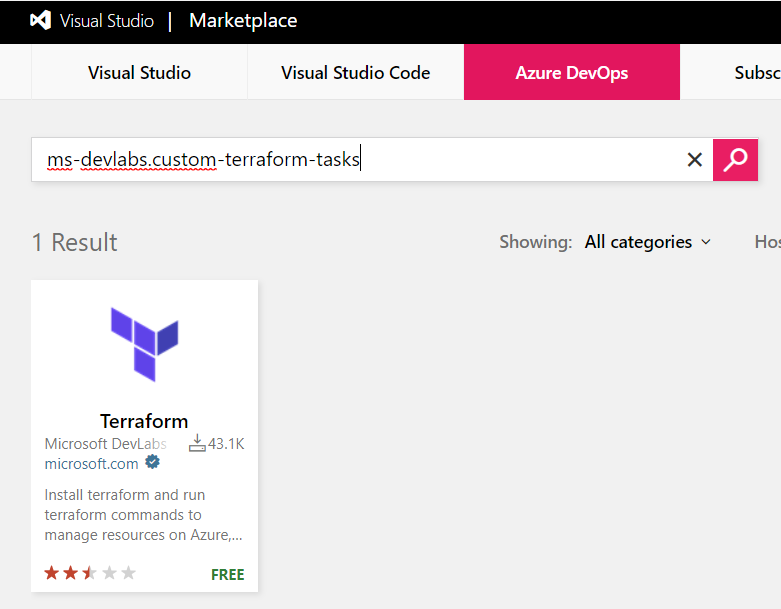
From the result click the Terraform image and select “Get it free”. Select your organization from the dropdown menu, and then select Install to install the extension.
The Terraform task allows us to run Terraform commands as part of Azure Build and Release Pipelines. We are able to use the task to run the following Terraform commands
- run
- init
- validate
- plan
- apply
- destroy
With this extension installed we can now configure a pipeline.
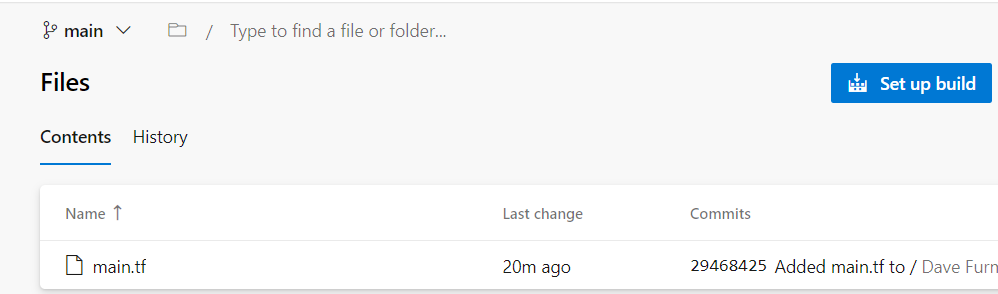
Select your Repo -> Setup Build
Select Starter Pipeline
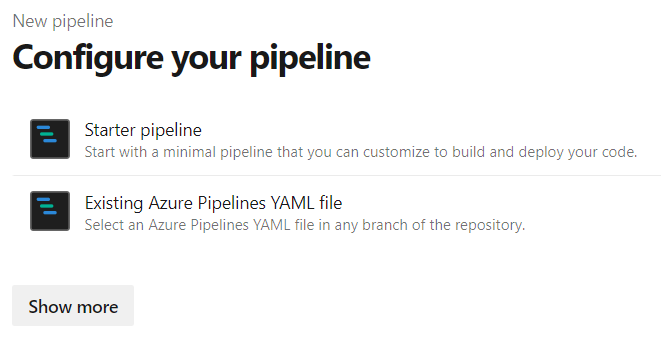
You will then be presented with a default pipeline in YAML format. YAML example Pipelines and further Terraform info can be found here
In my example pipeline, I have 2 stages.
- Validate - consists of the terraform init and validate commands. If the validate step fails the pipeline fails.
- Deploy - consists of the terrform plan and apply commmands. This will deploy the resources declared in the terraform configuration into Azure. This stage will only run if the validate phase is successful. In the pipeline code below you will notice the references to the Resource Group and Storage Account previously created.
Full Azure DevOps Pipelines
trigger:
- main

pool:
  vmImage: ubuntu-latest

jobs:
- job: Validate
  displayName: Terraform Validate
  pool:
    vmImage: ubuntu-latest
  steps:
  - checkout: self
  - task: TerraformInstaller@0
    displayName: Install Terraform latest
  - task: TerraformTaskV2@2
    displayName: 'Terraform : Init'
    inputs:
      backendServiceArm: 'sc-dowdtf'
      backendAzureRmResourceGroupName: dowd-devops-rg
      backendAzureRmStorageAccountName: dowdtf
      backendAzureRmContainerName: tfstatedowd
      backendAzureRmKey: terraform.tfstate
  - task: TerraformTaskV2@2
    displayName: 'Terraform : Validate'
    inputs:
      command: validate
- job: Deploy
  displayName: Terraform Deploy
  pool:
    vmImage: ubuntu-latest
  steps:
  - checkout: self
  - task: TerraformInstaller@0
    displayName: Install Terraform latest
  - task: TerraformTaskV2@2
    displayName: 'Terraform : Init'
    inputs:
      backendServiceArm: 'sc-dowdtf'
      backendAzureRmResourceGroupName: dowd-devops-rg
      backendAzureRmStorageAccountName: dowdtf
      backendAzureRmContainerName: tfstatedowd
      backendAzureRmKey: terraform.tfstate
  - task: TerraformTaskV2@2
    displayName: 'Terraform : Plan'
    inputs:
      command: plan
      environmentServiceNameAzureRM: 'sc-dowdtf'
  - task: TerraformTaskV2@2
    displayName: 'Terraform : Validate and Apply'
    inputs:
      command: apply
      environmentServiceNameAzureRM: 'sc-dowdtf'
Replace the code from your starter pipeline with the code above, replace the Resource Group and Storage Account details to match yours. Once you have done that & saved the pipeline, you will see it beginning to run and you can review both stages.
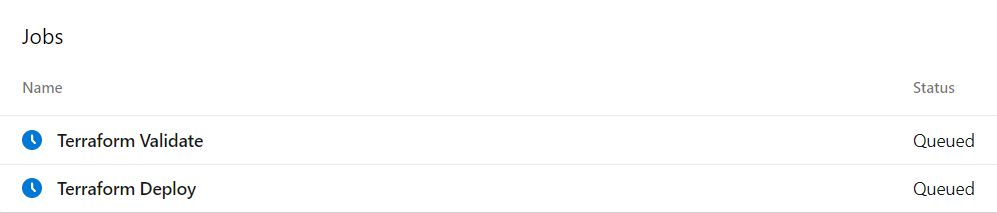
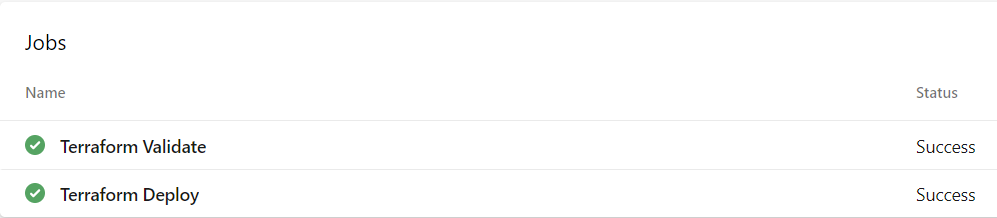
After a few minutes the pipeline will start and go through the 2 stages. If you have set this up correctly and the pipeline succeeds you should see something like this below:-
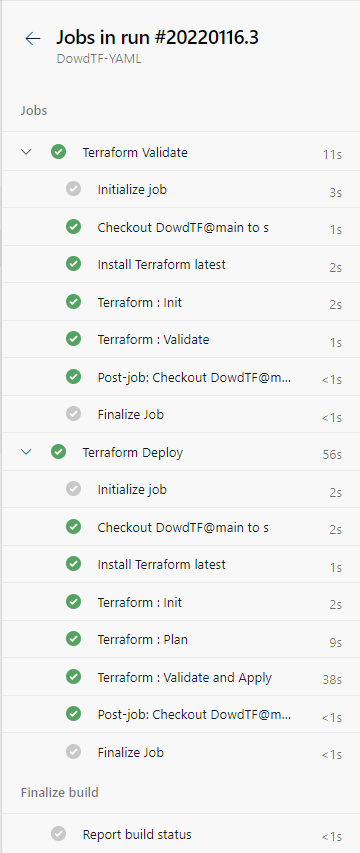
If you click on one of the stages you will see a more detailed breakdown of the tasks.
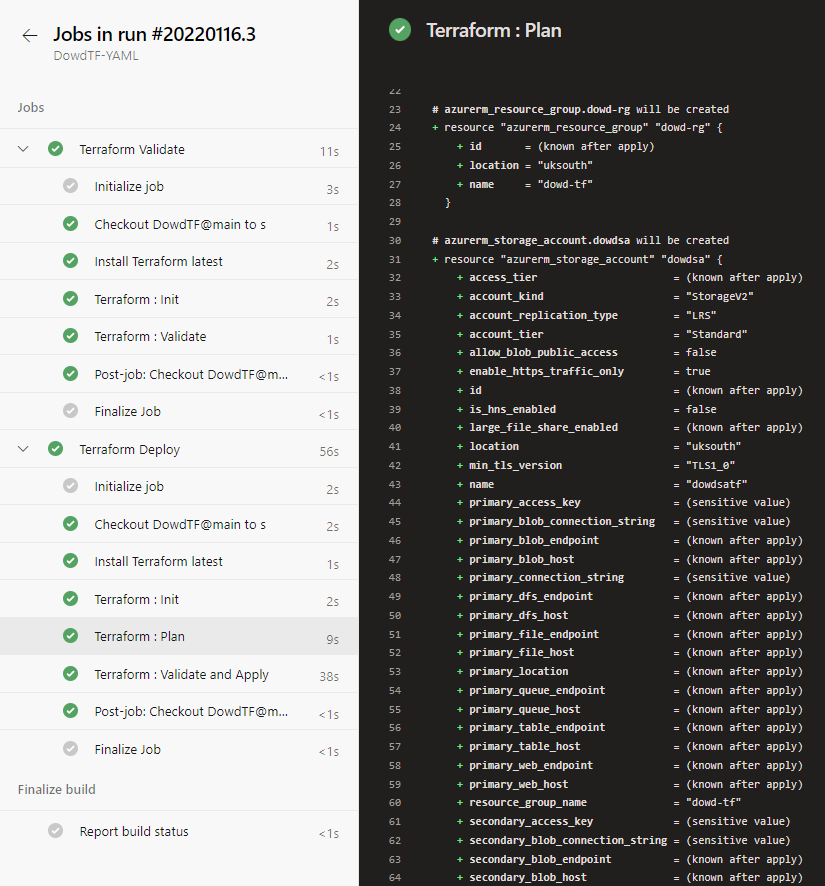
If you select the “Terraform : Plan” stage, you will see what Azure Resources are going to be deployed
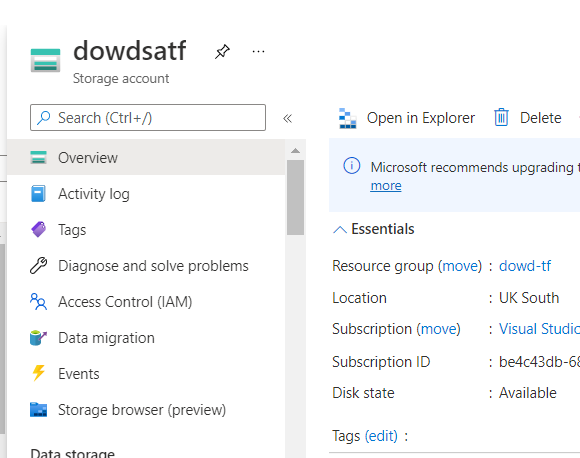
If you now go into the Azure Portal, you will see the Resource Group and Storage Account we have just created.
We are Done!
In this post I’ve shown you how simple it is to create some basic terraform code and deploy into it Azure. You can use this as a simple baseline to go and create something more complicated of your own.